
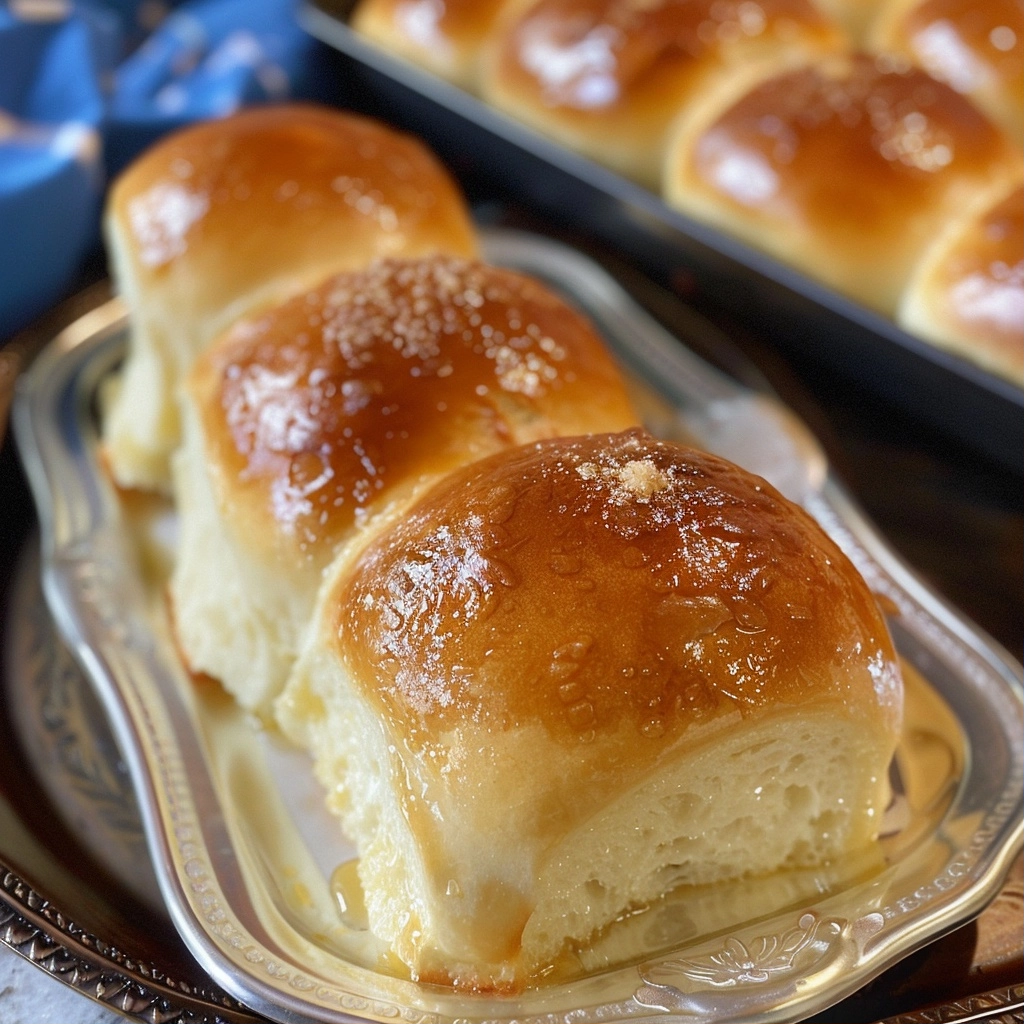
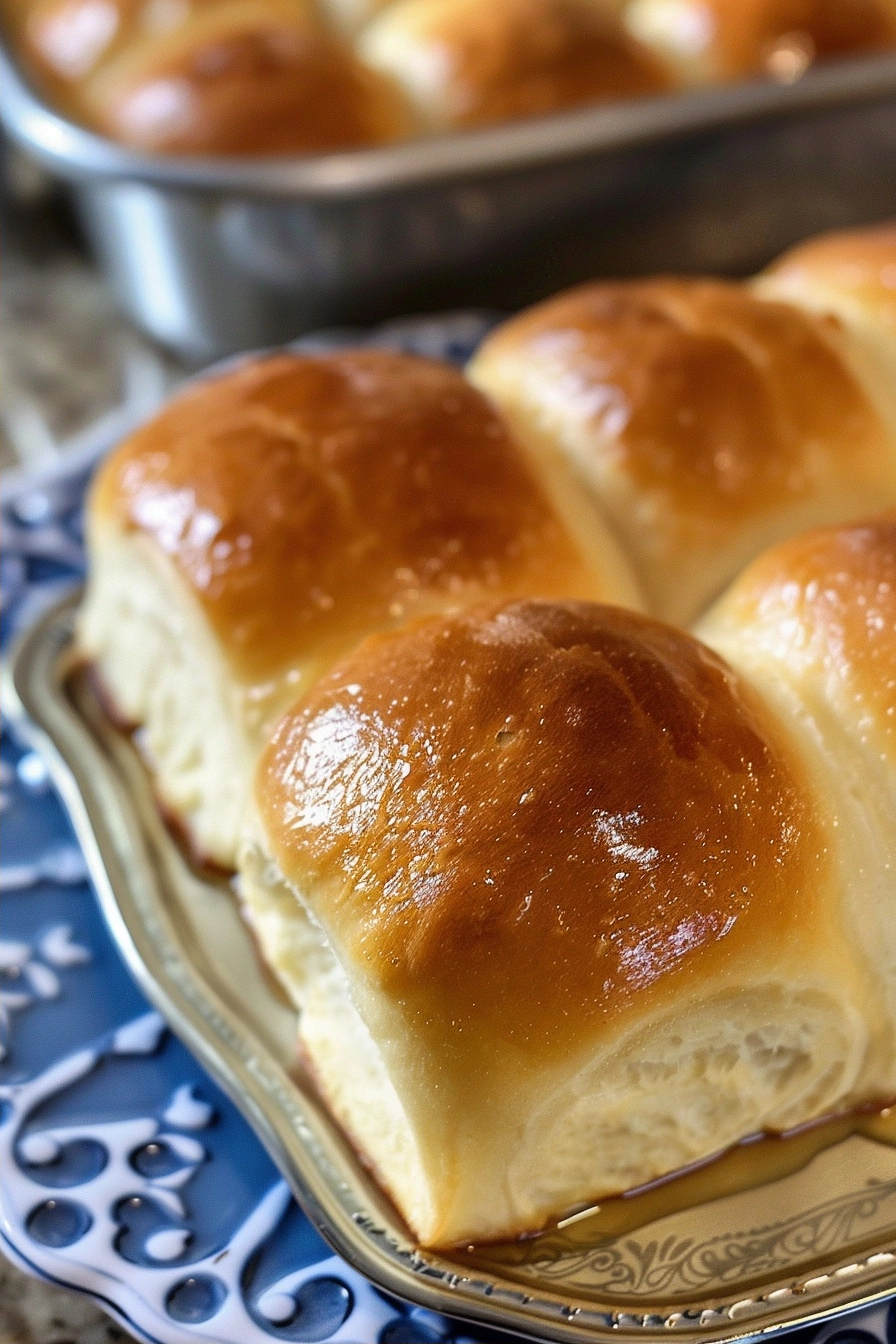
The best dinner rolls represent the foundation of any memorable meal by providing a light, pillowy texture and a rich, buttery finish. These yeast-risen treats require straightforward pantry staples to achieve a professional bakery result in your own kitchen. You will find that this reliable process produces consistent rolls perfect for family gatherings or holiday feasts every single time.
| Prep Time | Cook Time | Total Time | Servings | Difficulty | Cuisine |
|---|---|---|---|---|---|
| 15 mins | 15 mins | 1 hour 30 mins | 24 rolls | Easy | American |
Why This Recipe Works
I developed this recipe to eliminate the frustration often associated with yeast breads. By utilizing rapid-rise yeast and a specific milk-to-butter ratio, the dough achieves a velvety texture that remains soft for days. This approach prioritizes reliability, ensuring that even if you are new to bread making, your final product will be pillowy and golden.
The secret lies in the temperature of the milk and the methodical incorporation of flour to avoid overloading the dough. Since I have tested numerous hydration levels, this version balances stickiness with structure perfectly. You get a consistent rise that fills your kitchen with the comforting aroma of fresh, toasted bread without an extensive proofing schedule.
Ingredients
| Ingredient | Quantity | Notes/Alternatives |
|---|---|---|
| All-purpose flour | 4-5 cups | Can substitute bread flour for more chew |
| Rapid-rise yeast | 2 tbsp | Do not use active dry unless proofed first |
| Granulated sugar | 1/3 cup | Essential for golden browning |
| Salt | 1 tsp | Fine sea salt works best |
| Warm milk | 1 1/2 cups | Must be 110 degrees Fahrenheit |
| Butter | 5 tbsp | Softened, plus extra for brushing |
| Egg | 1 large | Room temperature ensures best rise |
Step-by-Step Instructions
Mixing the Dough
- Combine 3 cups of flour, yeast, sugar, salt, warm milk, butter, and egg in the bowl of a stand mixer.
- Attach the dough hook and turn the mixer on to the lowest speed to incorporate the ingredients.
- Scrape down the sides of the bowl to ensure uniform mixing.
- Increase speed to medium and beat the mixture for 2 minutes to develop early structure.
- Add 1/2 cup of flour and blend until fully integrated.
- Incorporate the final 1/2 cup of flour and mix for another 2 minutes until a cohesive ball forms.
- Adjust flour levels slightly if needed so the dough remains soft and pulls away from the edges.
Proofing and Baking
- Transfer the dough to a lightly greased bowl and cover with a towel or plastic wrap.
- Allow the dough to rise in a warm spot for 30 minutes.
- Deflate the dough by punching it down gently after the first rise.
- Form 24 uniform pieces and arrange them in a greased 9×13 baking dish.
- Cover the dish and let the rolls rise for an additional 30 minutes.
- Preheat your oven to 375 degrees Fahrenheit.
- Bake the rolls for 12 to 15 minutes until they achieve a deep golden color.
- Brush the hot rolls immediately with melted butter to create a glossy, flavorful crust.
Chef Tips for Perfect Results
- Always use an instant-read thermometer for your milk to ensure it hits exactly 110 degrees.
- Measure your flour by spooning it into the measuring cup rather than scooping directly from the bag.
- Tent the pan with aluminum foil for the final 5 minutes if the tops are browning too rapidly.
- Use a kitchen scale to ensure each of the 24 pieces weighs roughly 2 ounces for even cooking throughout.
- Maintain a warm, draft-free environment to assist the yeast activity during the proofing stages.
Common Mistakes to Avoid
- Over-measuring flour: Adding too much flour results in dense, dry rolls rather than airy ones.
- Killing the yeast: Milk that exceeds 120 degrees Fahrenheit will destroy the yeast and prevent any rise.
- Ignoring the second rise: Skipping the final 30-minute rest after shaping results in rolls that remain flat.
- Using cold eggs: Cold ingredients retard yeast activity, making the dough sluggish and hard to work with.
Variations and Substitutions
| Ingredient | Substitution | Impact |
|---|---|---|
| Sugar | Honey | Adds a subtle floral depth and keeps rolls moist |
| Milk | Almond milk | Less protein but still effective for dairy-free needs |
| Butter | Melted coconut oil | Provides a slight sweetness and vegan fat source |
Serving Suggestions and Pairings
Serve these rolls warm alongside hearty soups, roasted vegetables, or a savory herb-infused butter. They pair beautifully with slow-cooked pot roasts or fresh garden salads. During the holidays, consider brushing the tops with a mixture of melted butter, minced garlic, and fresh parsley for a savory twist that elevates any dinner spread.
Storage and Reheating
| Method | Duration | Instructions |
|---|---|---|
| Countertop | Up to 3 days | Store in a sealed plastic bag once fully cooled |
| Frozen | Up to 1 month | Freeze in airtight bags and thaw at room temperature |
| Reheating | 3 minutes | Warm in a 350-degree oven wrapped in foil |
Nutritional Information
| Nutrient | Amount per Serving |
|---|---|
| Calories | 145 |
| Protein | 4g |
| Carbohydrates | 22g |
| Fat | 5g |
Approximate values.
Frequently Asked Questions
Can I use bread flour instead of all-purpose flour?
You can substitute bread flour, though it will result in a slightly chewier roll because of the higher protein content. If you choose this route, ensure you do not knead the dough excessively to keep the texture light.
Why are my rolls not rising?
Rising failure usually indicates that your liquid temperature was too high or your yeast was past its expiration date. Check the temperature of your milk with a thermometer and ensure the dough stays in a warm, draft-free location.
How do I know when the rolls are done?
The rolls are perfectly done when they reach a deep golden brown color and sound slightly hollow when tapped on top. You can also verify doneness by ensuring the internal temperature reaches 190 degrees Fahrenheit.
Can I prepare the dough the night before?
You can make the dough ahead of time by allowing it to do a slow rise in the refrigerator overnight after the first knead. When ready to bake, bring the dough back to room temperature, shape, and proceed with the second rise.
How do I keep the crust soft?
Brushing the rolls with melted butter immediately after they exit the oven traps moisture and prevents the crust from hardening. Covering the pan with a towel while they cool also helps steam the tops for maximum softness.
Mastering these rolls will change the way you view home baking forever. By following these focused steps and paying attention to your ingredient temperatures, you achieve professional, soft, and buttery results every time. Take pride in your handmade bread, and enjoy the unmatched flavor of a fresh roll pulled straight from the baking dish.
The BEST Dinner Rolls: Soft and Buttery Homemade Bread
Ingredients
- 4-5 cups all-purpose flour
- 2 tbsp rapid-rise yeast
- 1/3 cup granulated sugar
- 1 tsp fine sea salt
- 1 1/2 cups warm milk (110 degrees Fahrenheit)
- 5 tbsp butter, softened (plus extra for brushing)
- 1 large egg, room temperature
Instructions
- Combine 3 cups of flour, yeast, sugar, salt, warm milk, butter, and egg in a stand mixer bowl.
- Attach the dough hook and mix on the lowest speed to incorporate.
- Scrape down the sides of the bowl for even mixing.
- Increase to medium speed and beat for 2 minutes to develop structure.
- Gradually add up to 1 cup more flour, mixing until a cohesive, slightly soft ball forms that pulls away from the sides.
- Transfer the dough to a greased bowl, cover, and let rise until doubled in size.
- Shape into 24 uniform rolls and place in a baking pan.
- Cover and let proof until puffy, then bake at 375 degrees Fahrenheit for 15 minutes or until golden brown.